How to Calibrate Hand Grip Dynamometer: A Comprehensive Guide
Calibrating a hand grip dynamometer is essential for ensuring accurate and consistent results. Whether you're a fitness enthusiast, a healthcare professional, or a researcher, understanding how to calibrate this device can make a significant difference in the reliability of your data. This guide will walk you through the process, providing you with the knowledge and confidence to calibrate your hand grip dynamometer effectively.
Why Calibration is Important
Calibration is the process of adjusting a device to ensure it provides accurate measurements. For a hand grip dynamometer, this means ensuring that the force readings are precise and consistent. Without proper calibration, the data you collect may be inaccurate, leading to incorrect conclusions or ineffective training programs. Regular calibration also helps to maintain the longevity of the device, ensuring it remains in good working condition over time.
Understanding the Components
Before you begin the calibration process, it's important to familiarize yourself with the components of a hand grip dynamometer. Typically, these devices consist of a handle, a spring mechanism, and a display unit that shows the force measurement. Some models may also include additional features such as memory storage or connectivity options. Understanding how these components work together will help you better understand the calibration process.
Step-by-Step Calibration Process
Step 1: Gather Necessary Tools
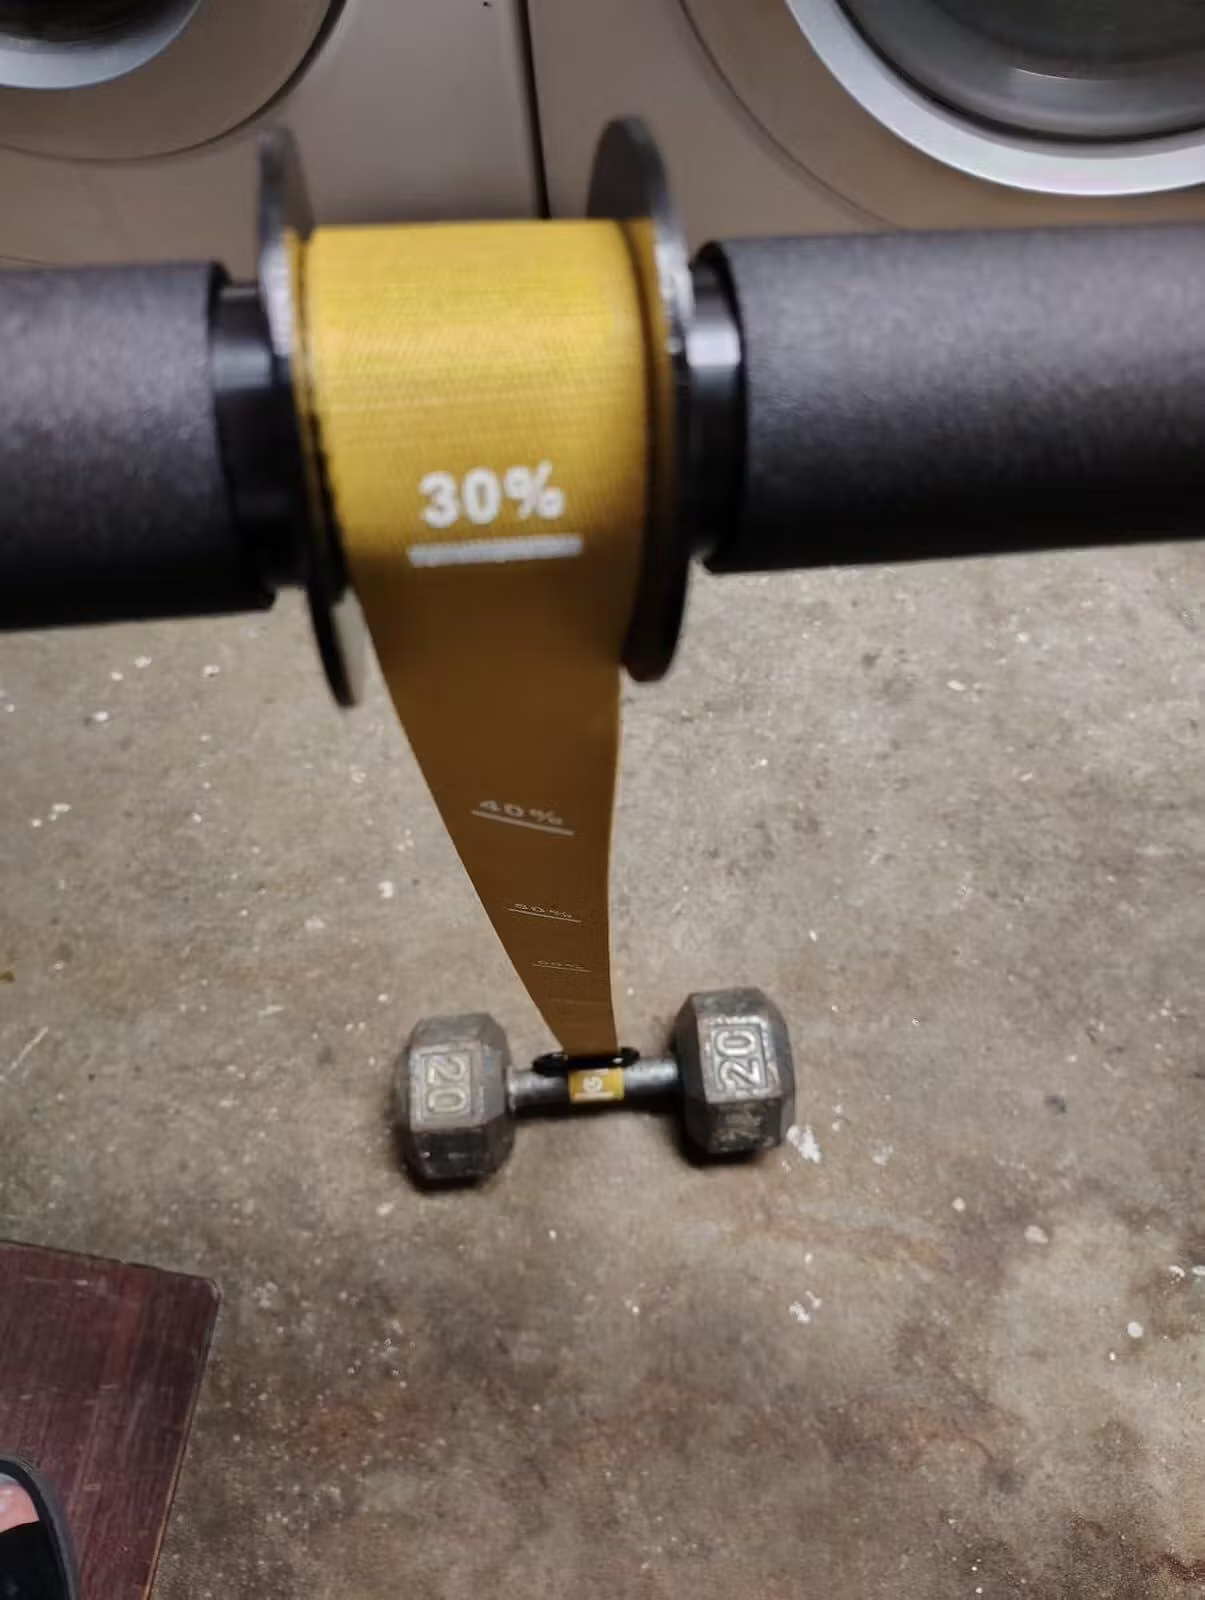
To calibrate a hand grip dynamometer, you'll need a few essential tools. These include a calibration weight or known force standard, a screwdriver or adjustment tool (if required), and a stable surface to work on. Ensure that the calibration weight or force standard is appropriate for the range of measurements your dynamometer is designed to handle.
Step 2: Prepare the Device
Before starting the calibration, make sure the hand grip dynamometer is clean and free from any debris or obstructions. Check the handle and spring mechanism for any signs of wear or damage. If you notice any issues, it may be necessary to repair or replace the device before proceeding with calibration.
Step 3: Perform a Zero Calibration
Start by performing a zero calibration to ensure the device reads zero when no force is applied. Hold the dynamometer in a neutral position and press the calibration button (if available) or adjust the device until the display reads zero. This step is crucial for establishing a baseline for accurate measurements.
Step 4: Apply the Calibration Weight
Next, apply the calibration weight or known force standard to the hand grip dynamometer. Ensure that the force is applied evenly and consistently. Observe the reading on the display and compare it to the known value of the calibration weight. If the reading is not accurate, you may need to adjust the device.
Step 5: Adjust the Device
If the reading does not match the known value, use the adjustment tool (if provided) to calibrate the device. This may involve turning a screw or adjusting a dial to increase or decrease the sensitivity of the dynamometer. Make small adjustments and reapply the calibration weight until the reading matches the known value.
Step 6: Verify the Calibration
Once you've made the necessary adjustments, verify the calibration by reapplying the calibration weight. Ensure that the reading is accurate and consistent. If the device provides multiple measurement ranges, repeat the calibration process for each range to ensure accuracy across the board.
Step 7: Document the Calibration
After completing the calibration, it's important to document the process. Record the date, the calibration weight used, and any adjustments made. This documentation will be useful for future reference and can help track the device's performance over time.
Tips for Maintaining Accuracy
To ensure that your hand grip dynamometer remains accurate, follow these maintenance tips:
- Regularly clean the device to prevent dirt and debris from affecting the measurements.
- Store the dynamometer in a cool, dry place to avoid damage from moisture or extreme temperatures.
- Perform regular calibration checks, especially if the device is used frequently or in demanding conditions.
- Replace any worn or damaged components promptly to maintain the device's accuracy and functionality.
Common Mistakes to Avoid
When calibrating a hand grip dynamometer, there are a few common mistakes to avoid:
- Using an incorrect calibration weight or force standard can lead to inaccurate readings.
- Failing to perform a zero calibration before applying the calibration weight can result in baseline errors.
- Making large adjustments during the calibration process can make it difficult to achieve precise measurements.
- Neglecting to document the calibration process can make it challenging to track the device's performance over time.
When to Seek Professional Help
While many hand grip dynamometers can be calibrated by the user, there are situations where professional help may be necessary. If you encounter persistent issues with accuracy, or if the device requires complex adjustments that you're not comfortable making, it's best to consult a professional. Additionally, if the device is under warranty, attempting to calibrate it yourself may void the warranty, so it's important to check the manufacturer's guidelines before proceeding.
Calibrating a hand grip dynamometer is a straightforward process that can significantly enhance the accuracy and reliability of your measurements. By following the steps outlined in this guide, you can ensure that your device is properly calibrated and ready to provide precise data. Whether you're tracking your progress in a fitness program or conducting research, a well-calibrated hand grip dynamometer is an invaluable tool. So, take the time to calibrate your device regularly and enjoy the confidence that comes with knowing your measurements are accurate.